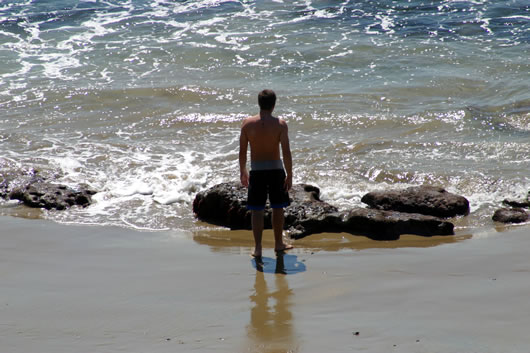
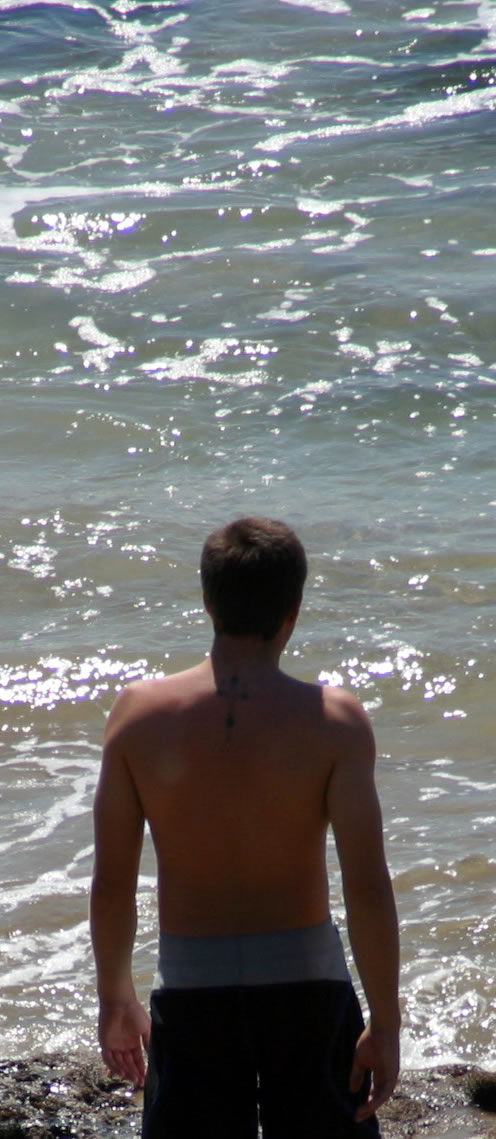
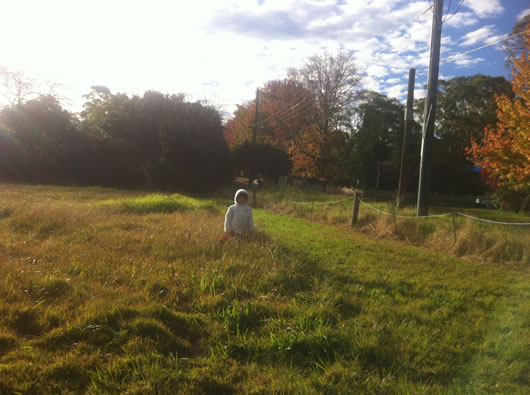
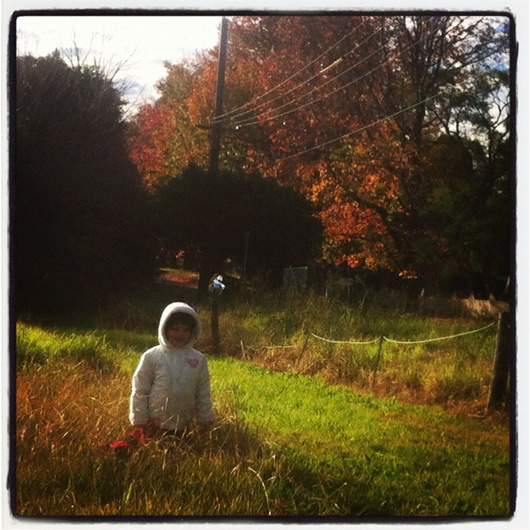
 Websites need photos to give them some "warmth" and I admit that this advice falls into the "do as I say, not as I do" category. Our site could certainly use more images and this is on our ever-expanding list. At some stage you'll be called on to insert an image into a spot where it just doesn't look right. Sometimes the image really isn't appropriate. But often all that's required is some creative cropping (and possibly resizing). It's amazing what you can hide when you crop as you can see when you compare the thumbnail in this paragraph with the original below. Almost all photo editors have a crop tool so I won't recommend a specific tool. However if you are starting from scratch, I recommend reading my review of PicMonkey.

Although I'm not going to pretend to be a photo expert, I have worked with graphic designers and some of their skills have rubbed off. There are no rules with photography and so the "after" photos below aren't necessarily better than the original. But you will learn some simple techniques you can use to enhance your Joomla content.
Remove "mistakes"

The most obvious use of the crop tool is to remove people or objects that shouldn't be in the shot. This is especially useful when celebrities get in the way. I'm sure this is what you really wanted to see:

Get Closer

One of the most common pieces of advice in photography schools is to get closer to the action. But if you didn't do that at the time of the shot, the crop tool can come to your rescue.

Rule of thirds

Hang on - I thought you said there were no rules! Yes, well but this is a good one so forgive me. There is something magical in the universe about the number three. There were three wise men, three musketeers and neapolitan ice cream just wouldn't be right with 2 or 4 flavors. And so it is with subjects in photos. Picture a picture with a three-by-three grid floating over the image. For some reason that only scientists can explain, the eye finds it more pleasing when the subject is positioned at the intersection of of the grid lines. So try to crop images in such a way that your subject is positioned at one of those points.

Changing the aspect
There is a trend at the moment to include a large image panel in Joomla templates. This looks terrific on the template demo site, but when it comes time to choosing an image for your site, it can be challenging to find something suitable. If you have a large photo, it might be possible to heavily crop it to fit this awkward aspect. The same principle applies to all areas, especially those pesky small module positions.
Cropping people
It's often okay to crop heavily, especially when space is tight such as on a summary page such as the home page or a category page. Newspapers are the best example of this as their screen real estate is limited. The example below includes several people shots where the tops of their heads and more are cropped. When you first do this, it feels wrong, but the result is fine.
When editing people photos, avoid cropping at joints i.e. points of the body that bend. The above example includes an advertisement at the left. The first woman looks fine as her entire elbow is missing. But the woman to her right looks a little odd as her left arm has been cropped at the shoulder. Once again there are no rules and that's the best they could have done with the limited space available. But in general avoid cropping at joints and the worst case of this is when you crop at the neck.
If you have other examples to share or possibly examples of bad crop attempts, please leave a comment.


